Welcome!

Thanks for stopping by!
We are two house-loving DIYers now onto our second house. One of us has vision...and one has actual skills.
Design and working on our home are our major hobbies, whenever we have a few moments of free time not devoted to our daughter or jobs. We are hoping to share our ideas, triumphs and mistakes to help other DIYers and get new ideas from all of you!

Sunday, July 29, 2012

Weekend #2 - Windows

Even when setting up our kitchen two years ago when we moved in, the window IN the corner of the room that looked out onto the back steps was a challenge.  We ended up just plopping our open shelving in front of it and moving on to rooms we could actually improve upon for the time being. 


When we started seriously thinking about the kitchen, we couldn't really come up with a plan for the adjacent wall without dealing with the window...options:


1. Bump the wall back into Brent's office a foot (WAY too pricey!)
2. Close it up all together (tried putting cardboard over it for a week and it was very noticeably missing)
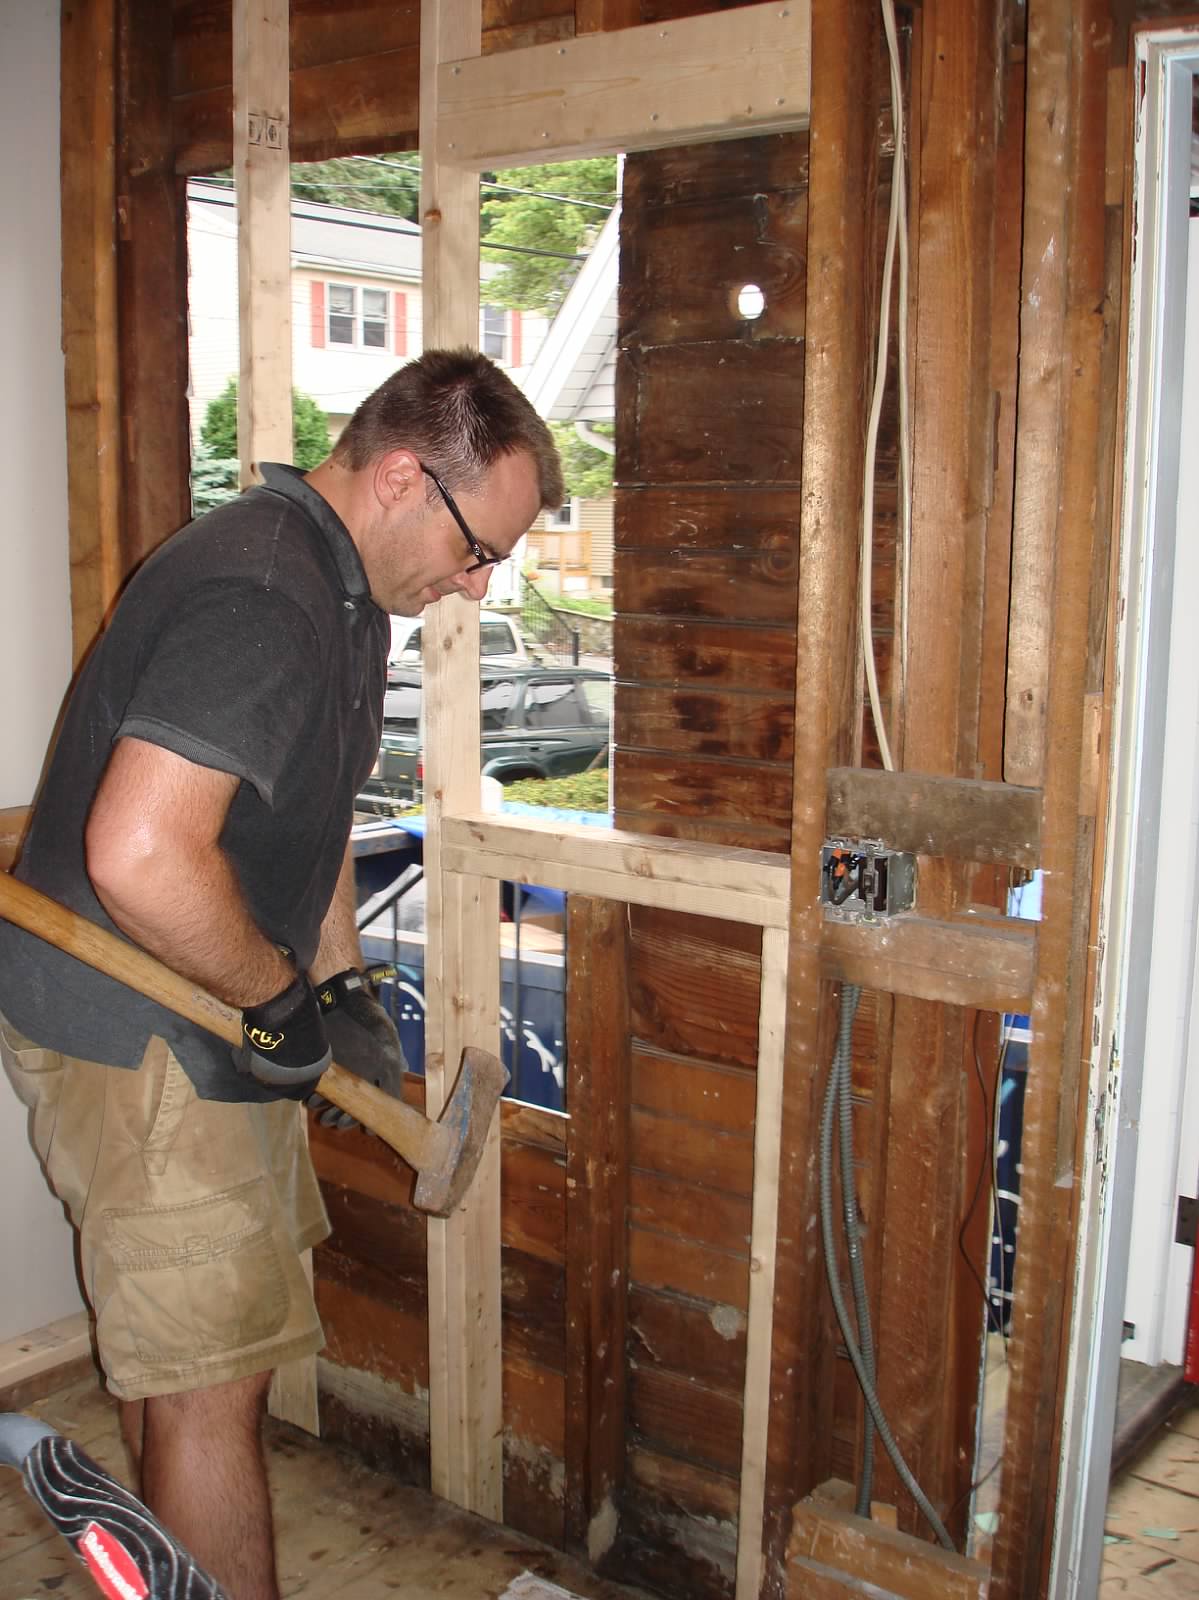
3. Replace the window with a smaller one farther away from the wall. (At first we thought this option would also be too pricey, but it turns out custom-sized windows are not that much!  We got both of our custom windows for under $250.  Of course, installing them yourself is also a huge savings...)


Knowing that we would be losing light from the smaller window, we tried to strategize how we could get more light in from that side.  We decided to change out the solid door to the mudroom for a glass paned one, and to install a high window in the mudroom to add more light.
The framing for the new window on the back porch was framed in on Friday night, and the window was installed on Saturday morning.  Today, we have been working on the second window.  First, the old window was removed (along with a chunk of siding).
 Next, the window was removed, leaving a nice big hole on a very gray day!

 Underneath the window framing, we found these newspapers from 1922
 Yeah field hockey!
 Removing the rest of the framing that had to come out required the BIG crowbar.
 Then, new studs went in!
 Next, the new window was framed.
 The mismosh of old and new opening and framing.
We were able to use old lumber we found in the garage and basement to patch the hole without having to buy any more wood.
 The new window in place!
 It's kind of neat how you can see where the old window was thanks to our green planks.
I'm definitely glad that we maintained some light coming from that wall, but now our wall of cabinets will fit in quite nicely on the left.

In other news, we apparently have expensive taste when it comes to under cabinet lighting.  We want it to be dimmable over the long counter, where it will be installed under the high cabinets above the windows.  We want LED because it is very low temperature.  We also need under cabinet lighting in the appliance nook, and on the breakfast bar.  Brent and I both prefer the look of puck lights as opposed to a bar.  Apparently all of these wishes left us with some limited options.... We decided to splurge on the lights that will be above the windows, since we think we will use those most often.  (But in white).
The other two locations will get different lights.  Now we will probably go with a more budget-friendly pendant...
We actually decided to go with this bar light under the appliance nook, since it is very deep, and about two feet wide.

Also, I had suggested that Brent write this post, since he had more technical knowledge of the window replacement process.  He said that I could interview him instead...stay tuned.

No comments:

Post a Comment