Welcome!

Thanks for stopping by!
We are two house-loving DIYers now onto our second house. One of us has vision...and one has actual skills.
Design and working on our home are our major hobbies, whenever we have a few moments of free time not devoted to our daughter or jobs. We are hoping to share our ideas, triumphs and mistakes to help other DIYers and get new ideas from all of you!

Thursday, August 30, 2012

New trims

I guess there have been two sources of trim in the last 24 hours..

And then the trim in the kitchen.

Today, Brent set out on a mission to go from the mudroom door all the way over to the stove with baseboard, toe-kick, caulk, and door trim.  Quite a job!

The door to the basement went from...


to...

Thanks to some steps like...
Door trim cut to accomodate the counter and base cabinet


The breakfast bar/pantry cabinet area also got fancied up.

Where it started at 6:30 this morning


Brent worked his way over

Trim makes SUCH a difference!


Breakfast bar all gussied up! (with crap on the counter...)

Tomorrow is onto the nook - lining the message cabinet with foam core and cork board, creating the face frame and spraying it gray, and perhaps the under cabinet lighting over the sink wall so we can move onto window trim and...dare I say...backsplash? Still hoping to have everything finished by 10/1..so we can have a kitchen warming party in Oct!

Most electrical + Plumbing = functional kitchen

Well, our deadline was to have a working kitchen by the time school started, and while I have been back at my new job since Monday, TECHNICALLY, the students don't come until next Thursday, so I guess we met our goal! (See? I always thought I would make a good project manager...)

Wednesday was a very exciting day, as the plumber returned to hook us up with running water and a working stove.  Brent took some pictures while the father and son team worked.


New water lines 


The faucet, sprayer, and air switch were installed


New supply lines in place

garbage disposal without dentures!!!

Making attachments

New fabulous dishwasher almost ready to use

Gas line for the stove


Working stove!!!


So as of Wednesday we have had...running water...a working dishwasher...and a working stove!  Have we cooked yet?  No...next week...


Tuesday, August 28, 2012

Trim, raising the dw, fixing under the sink

Today when I left for work, Brent was all set to tackle the "weird wall" which used to be part of the opening that separated the kitchen and the nook.

It's on the right here - oh yeah...it also had the phone jack in it...


It was a challenge to trim.  We decided to use 3 pieces of the same trim we are using on the doorways and windows with blocking on the bottom to make it look columnesque.  I came out really great!

New trim on the left.  We moved the stove back in, but it's not hooked up yet!
The next task for the day was to raise up the dishwasher to the proper height.  The base cabinets we inherited with the house are nice and tall (good for us!) but taller than standard, and so Brent had to build up a base to put it on.
First, Brent used 2 layers of 1x4 material glued together to get the 1.5" inches we needed.  Then he used long screws to secure the strips to the hardwood so they are not going anywhere.

Ta da!  Dishwasher in the right spot.  
Next, Brent dealt with the sink cabinet (see right of dw above).

The baseboard that used to have the drain pip running through it was patched (now that our drain is to code...)

 
The base of the cabinet also had to be replaced.
We took out the original bottom when the plumbing was being addressed. 

Brent put in 3/4" plywood and shoe moulding to finish it off.

Lastly, the interior was painted a nice, bright white.

Tomorrow is slated to be a very busy day! Plumber at 7:30 AM - everyone cross your fingers RIGHT NOW that we will have running water and a working stove when I get home from work!

Then, we have the electrician coming back at 5 or 6 PM.  Plugging away!

Monday, August 27, 2012

You better wipe your shoes before coming in this mud room!

While the mudroom was a bit of an after thought for me...just get rid of that bright blue paint!,


Brent was thinking about how we could maximize the usability of that space - all the shoes pile up...there are too many coats...you can never find your mittens on the top shelf...and in the winter it's freezing in there.

Brent proposed radiant floor heating early on in our planning process.  I was skeptical - it's a postage stamp of floor!  Do we REALLY need it heated...it didn't seem to go with our very budget-conscious approach...can you even buy a mat that small?

But, since I got my decorative light, Brent got his radiant floor heating.  Marriage is all about compromise, right?  Plus...I'm sure I'll be loving him for this when my boots are roasty toasty in February.  For material, we went with a heated-floor-friendly ceramic tile as our flooring choice - cheap and durable for all of those muddy feet.  Plus, the slate-look compliments the adjacent kitchen nicely.

The plan is to build a custom built in with bench, shoe, recycling, mail, and hat/scarf/mitt storage...but until that happens, it's all ready!

Here is what Brent did:

Step 1 was to prepare the floor surface - here he is scoring the cement backer board.
Dry fit of the backerboard

Mixing up the thin set.  The backerboard was set into a bed of thinset over the subfloor. This evens out any uneven surfaces and makes for good contact between the backerboard and subfloor.

Troweling out the thinset with a 1/4" x 1/4" square notch trowel


Backerboard in place with seams taped, mudded, and screwed to the floor.

Dry fit of tiles


Cutting tiles to size with the wet saw


Brent had to notch the backerboard to imbed the radiant floor heating mat 's factory splice


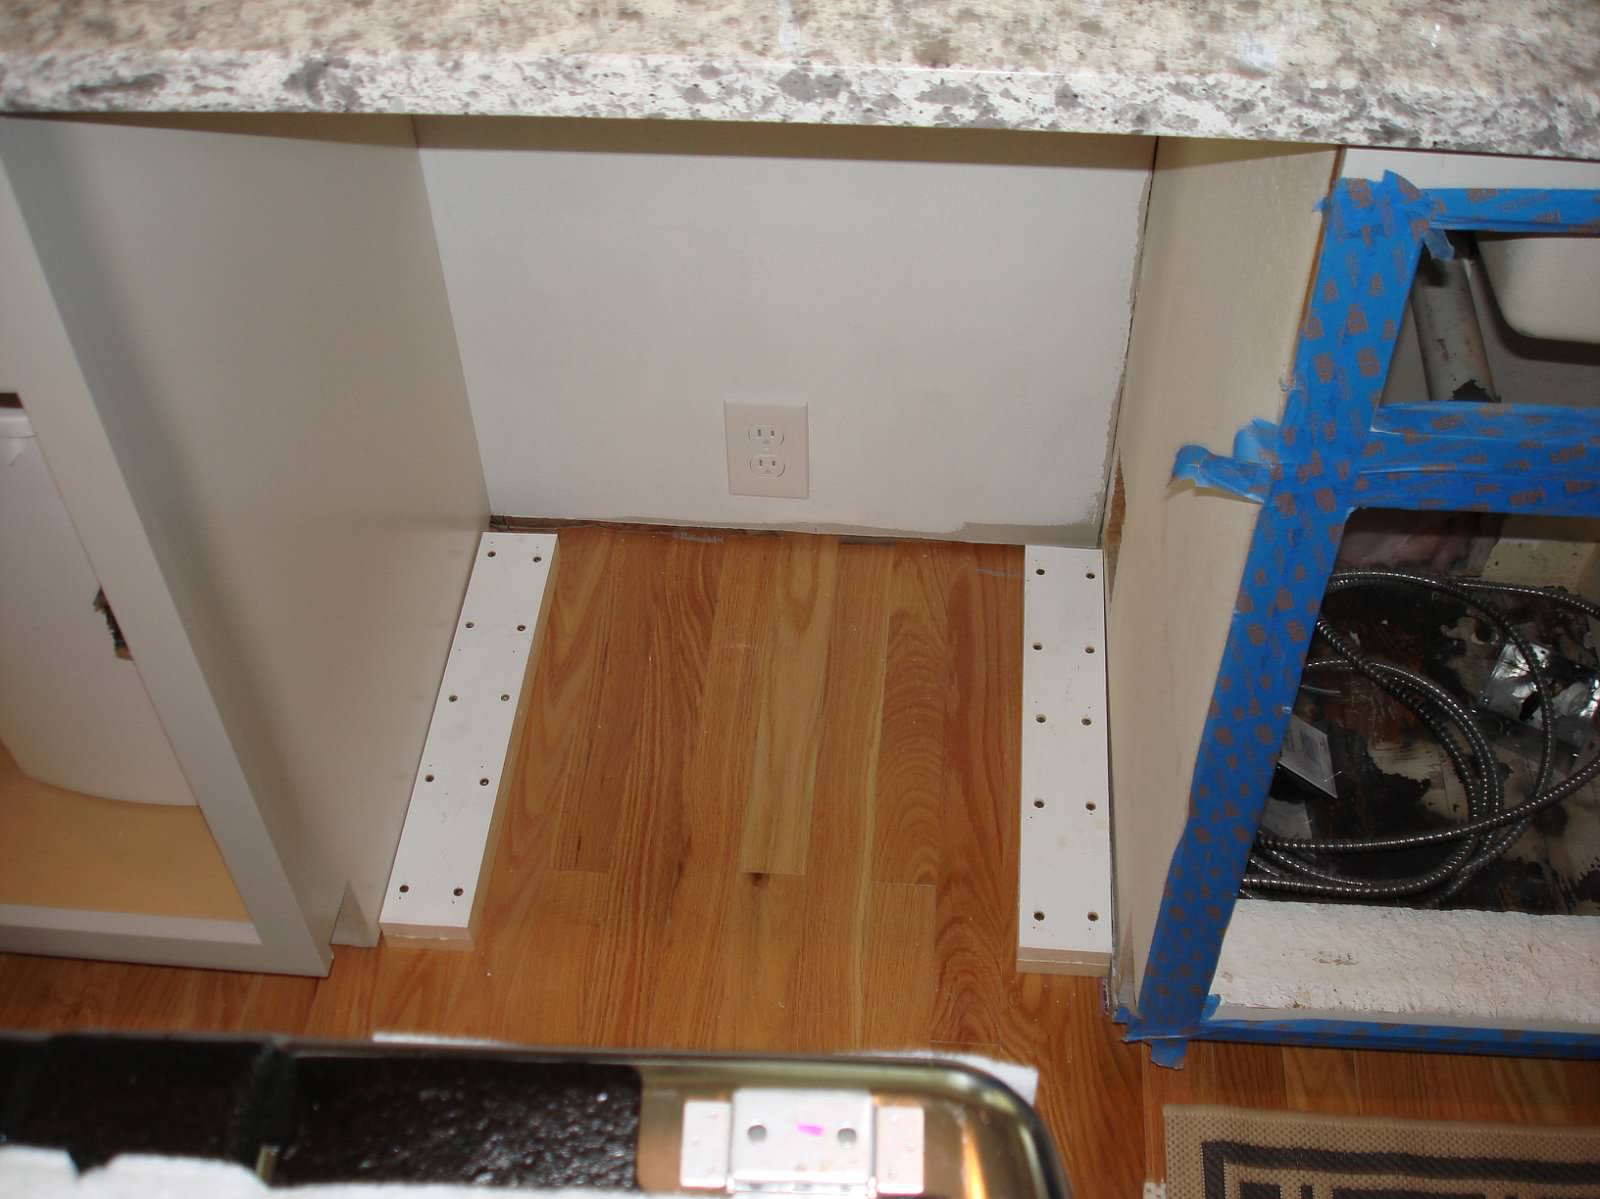
Mat laid out with the temperature sensor.
* Note - to the right will be the built in - you don't put radiant heating under any sort of cabinetry.

My feet feel warmer already.

More thinset to set the tiles...looks like peanut butter consistency to me!

Tiles have all been placed and are secured with the thinset.
Now we wait a day.

New taupe grout. 

Making sure all of the joints are filled with grout

After 20 minutes, Brent wiped down the tile to remove the excess grout, being careful not to pull it out of the joints.


Trimming the doorway to the mudroom.
There is a glass panelled door
that will find its way here at some point.

The little window was finished off
with a simple frame of trim.

Windows have been trimmed, doorways in the mudroom trimmed, and baseboard applied.

Welcome!